|
In all honesty, the interior, other then the nice leather seats, is just OK. The interior plastic window trim is in poor
condition and the headliner and glareshield are mediocre at best. All in all, despite the great leather seats, I would have
to rate the interior only a 6+ to a 7.
|
|
Burgundy leather Seneca style front seats. Seats have space age heat sensitive foam padding, softens with body heat to conform
to your body. Pilot side front seat has inertial reel over-the-shoulder seat belts, right side has over-the-shoulder restraint
without the inertial reel. Side panels are navy blue carpet on the bottom, a mix of burgundy leather and navy blue and burgundy
wool fabric.
|
|
|
Rear benches.
|
|
|
This shot shows some of the headliner, the dome light, and the Kosala passenger side over-the-shoulder seatbelt.
|
|
|
This is a shot looking out the pilot side. You can see the inertial reel shoulder belt harness. You can also see the speed
brake in its stowed position on the wing.
|
|
|
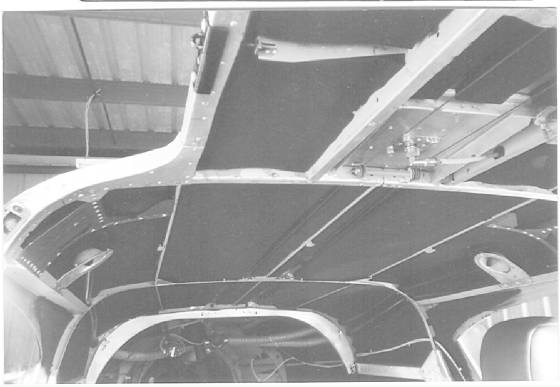
This is a black and white scan of a photograph that was taken by the IA we flew down to Kentucky to do the pre-buy inspection.
It shows some of the interior cabin sound proofing.
|
|
Add your content here
|
Another scan from the same set of pictures. This scan came out a little sharper for some reason. Anyway, more of the interior
before our purchase.
For the curious, that low vertical fence right behind the pilot's seat is actually where the two main wing spars are
bolted together.
Well I thought it was cool when I saw it.
|
|
Add your content here
|
Yet another scan. Picture looking down the tail cone. You can see the STEC autopilot computers in the foreground. Way down
in the tail (top of picture) is a shelf where the magenetic flux detector for the the slaved HSI is mounted. What is not
shown, as it was added after this picture was taken, is another shelf just after of the battery where the WX-11 stormscope
computer is installed. You can also see some more of the sound proofing material.Click on the image to see the actual
sized image which is much sharper.
|
|